Configure Web Checkout in the Merchant Portal
This document applies to the following countries:
| Argentina | Chile | Mexico |
|---|
For other countries, see the Initial Configuration via API page.

To process transactions with Web Checkout, complete the four configuration steps in the Web Checkout module of Getnet's Merchant Portal.
Step 1: Configure payment and installment options
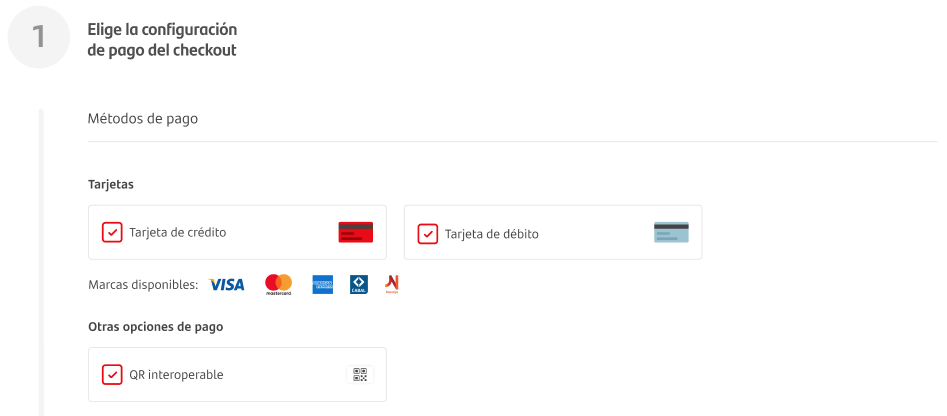
You can optionally configure your checkout experience by enabling or disabling specific payment operations. These settings determine which payment methods, such as credit cards and debit cards, appear during checkout.
This flexibility lets you offer the payment options that best meet your business and customer needs.
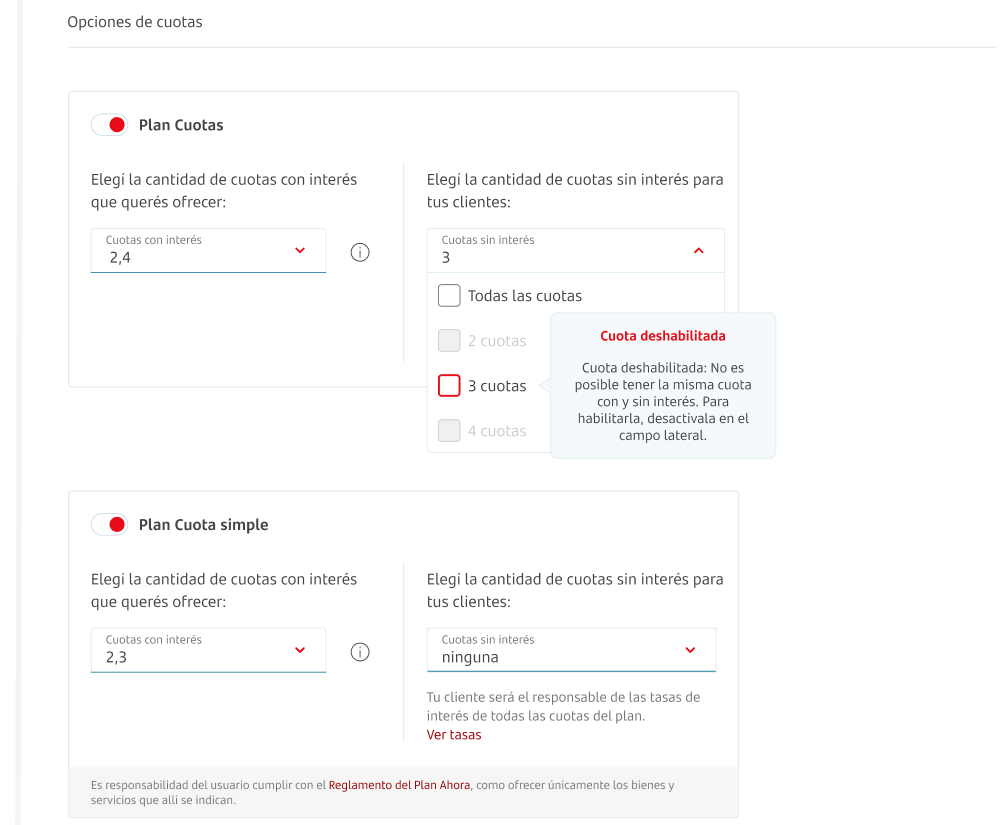
Argentina installments
Argentina offers two main types of installment options at country level. You can process them only with national or domestic cards:
- Issuer plans: Base installment plans offered by the issuers/banks.
- Government plans (Cuota Simple / Plan Ahora): Option offered by the Argentinian government, usually at lower interest fees than the issuer plans.
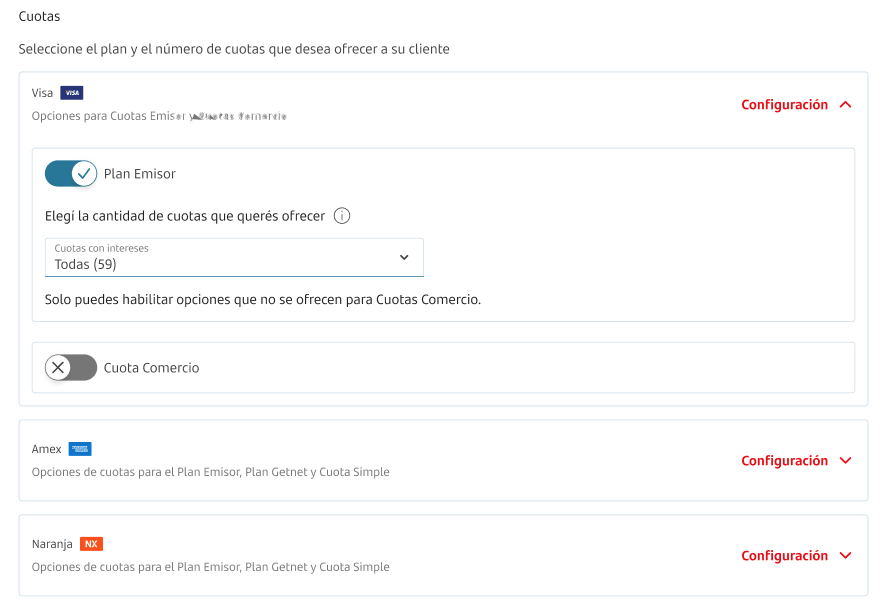
Chile installments
Chile offers two main types of installment options at country level:
- Issuer plans: Base installment plans offered by the issuers/banks, with options ranging from 2 to 48. You settle the transaction only once. The cardholder pays the total amount and any corresponding fees applied afterwards.
- Merchant installments (Cuota Comercio): No-fee plan that you offer as the merchant, with options ranging from 2 to 12. You settle the transaction multiple times, depending on the selected plan.
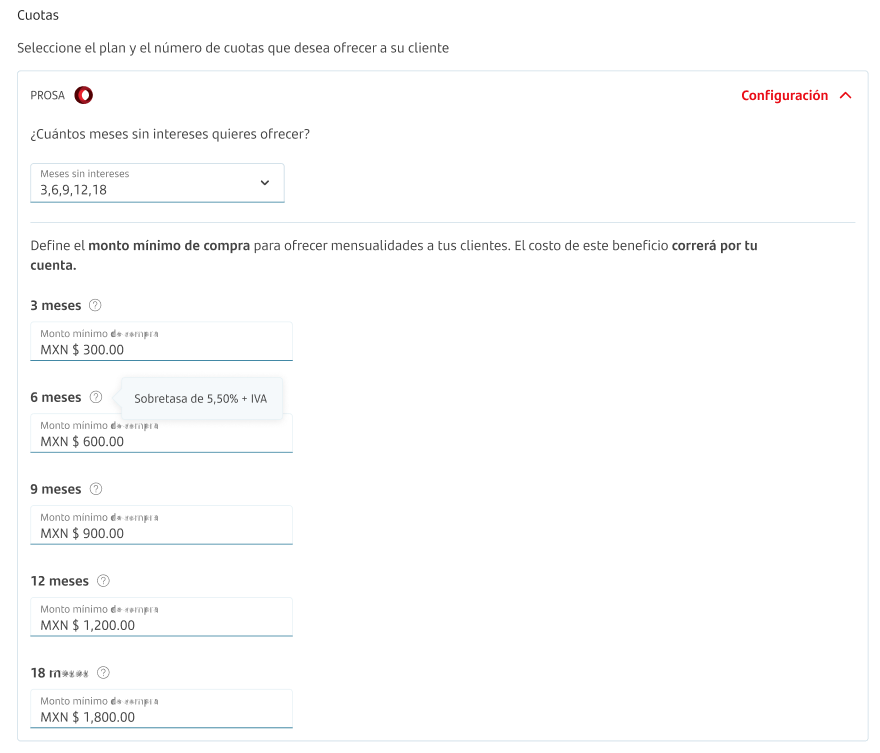
Mexico installments
Mexico offers one main type of installment option at country level:
- MSI (Meses sin interés): Base installment plans offered by PROSA. The customer's personal bank is responsible for collecting payments. You receive a single settlement that includes any deducted fees.
Step 2: Customize the checkout
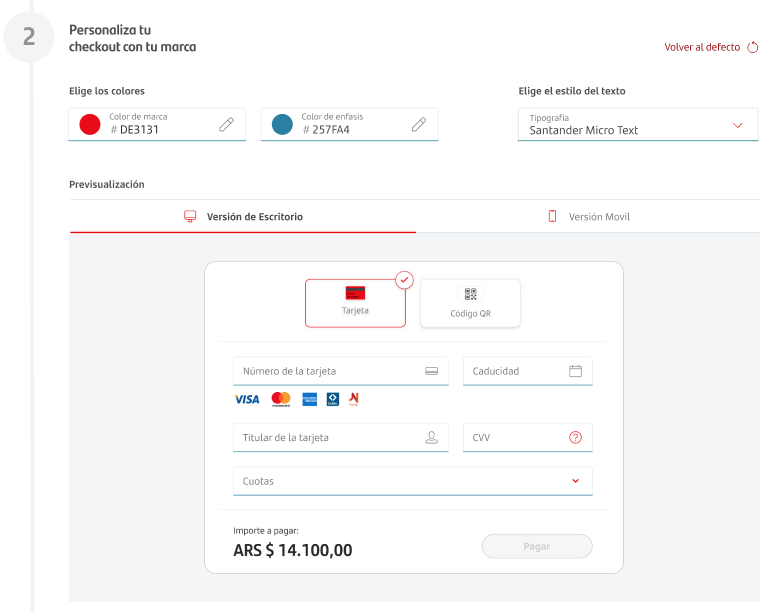
As an optional feature, you can customize the appearance of the Web Checkout interface that your customers see. This lets the checkout experience match the branding of your e-commerce site. Available customization options include brand color, accent color, and font.
Step 3: Set the redirect URLs
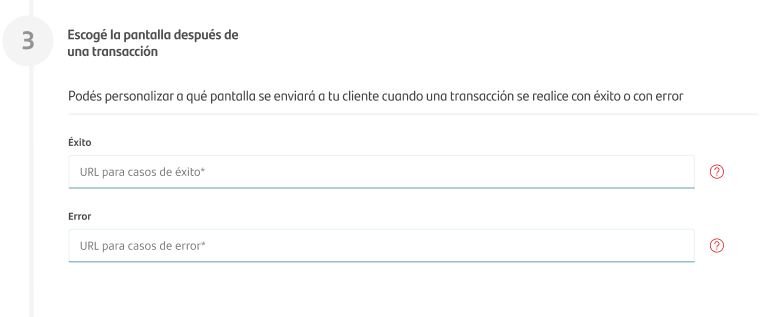
Redirect URLs send customers to predefined endpoints when a transaction is approved or declined during checkout.
You must provide two URLs:
- Success: for approved transactions.
- Error: for declined transactions.
Both URLs are required to complete the integration.
Step 4: Configure webhook notifications
A webhook is a lightweight, event-driven communication mechanism that lets one app automatically notify another via HTTP. This approach removes the need for continuous polling. It supports near real-time data exchange and system integration.
result object. This object is nested within the top-level payment object and contains the payment status and authorization details.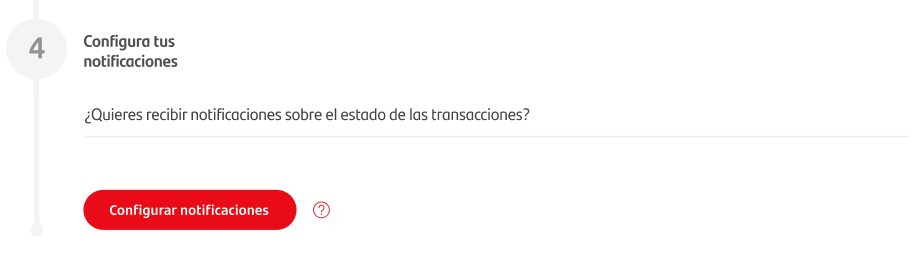
Even though you don't need to send a formal acknowledgment, your system must return a successful 200 HTTP response. If your system returns an error 500 HTTP response or no response at all, Getnet resends the notification. It makes up to 5 attempts at increasing intervals.
After these initial 5 attempts, Getnet resends the notification every 1 hour for up to 72 hours. After that, Getnet stops further notification attempts.
Although a formal acknowledgment isn't required, your system must return an HTTP 200 (OK) response when it receives a webhook notification. If your system returns an HTTP 500 (ERROR) response, or no response, Getnet retries the notification.
 JSONJSONJSONJSON
For more details, see the API reference.
On this page